Publishing Page
The final step in the page creation process is to make your page accessible to external users. In Studio we refer to this process as "publishing" your page.
How to publish a page
There are two ways that you can publish a page within Studio:
-
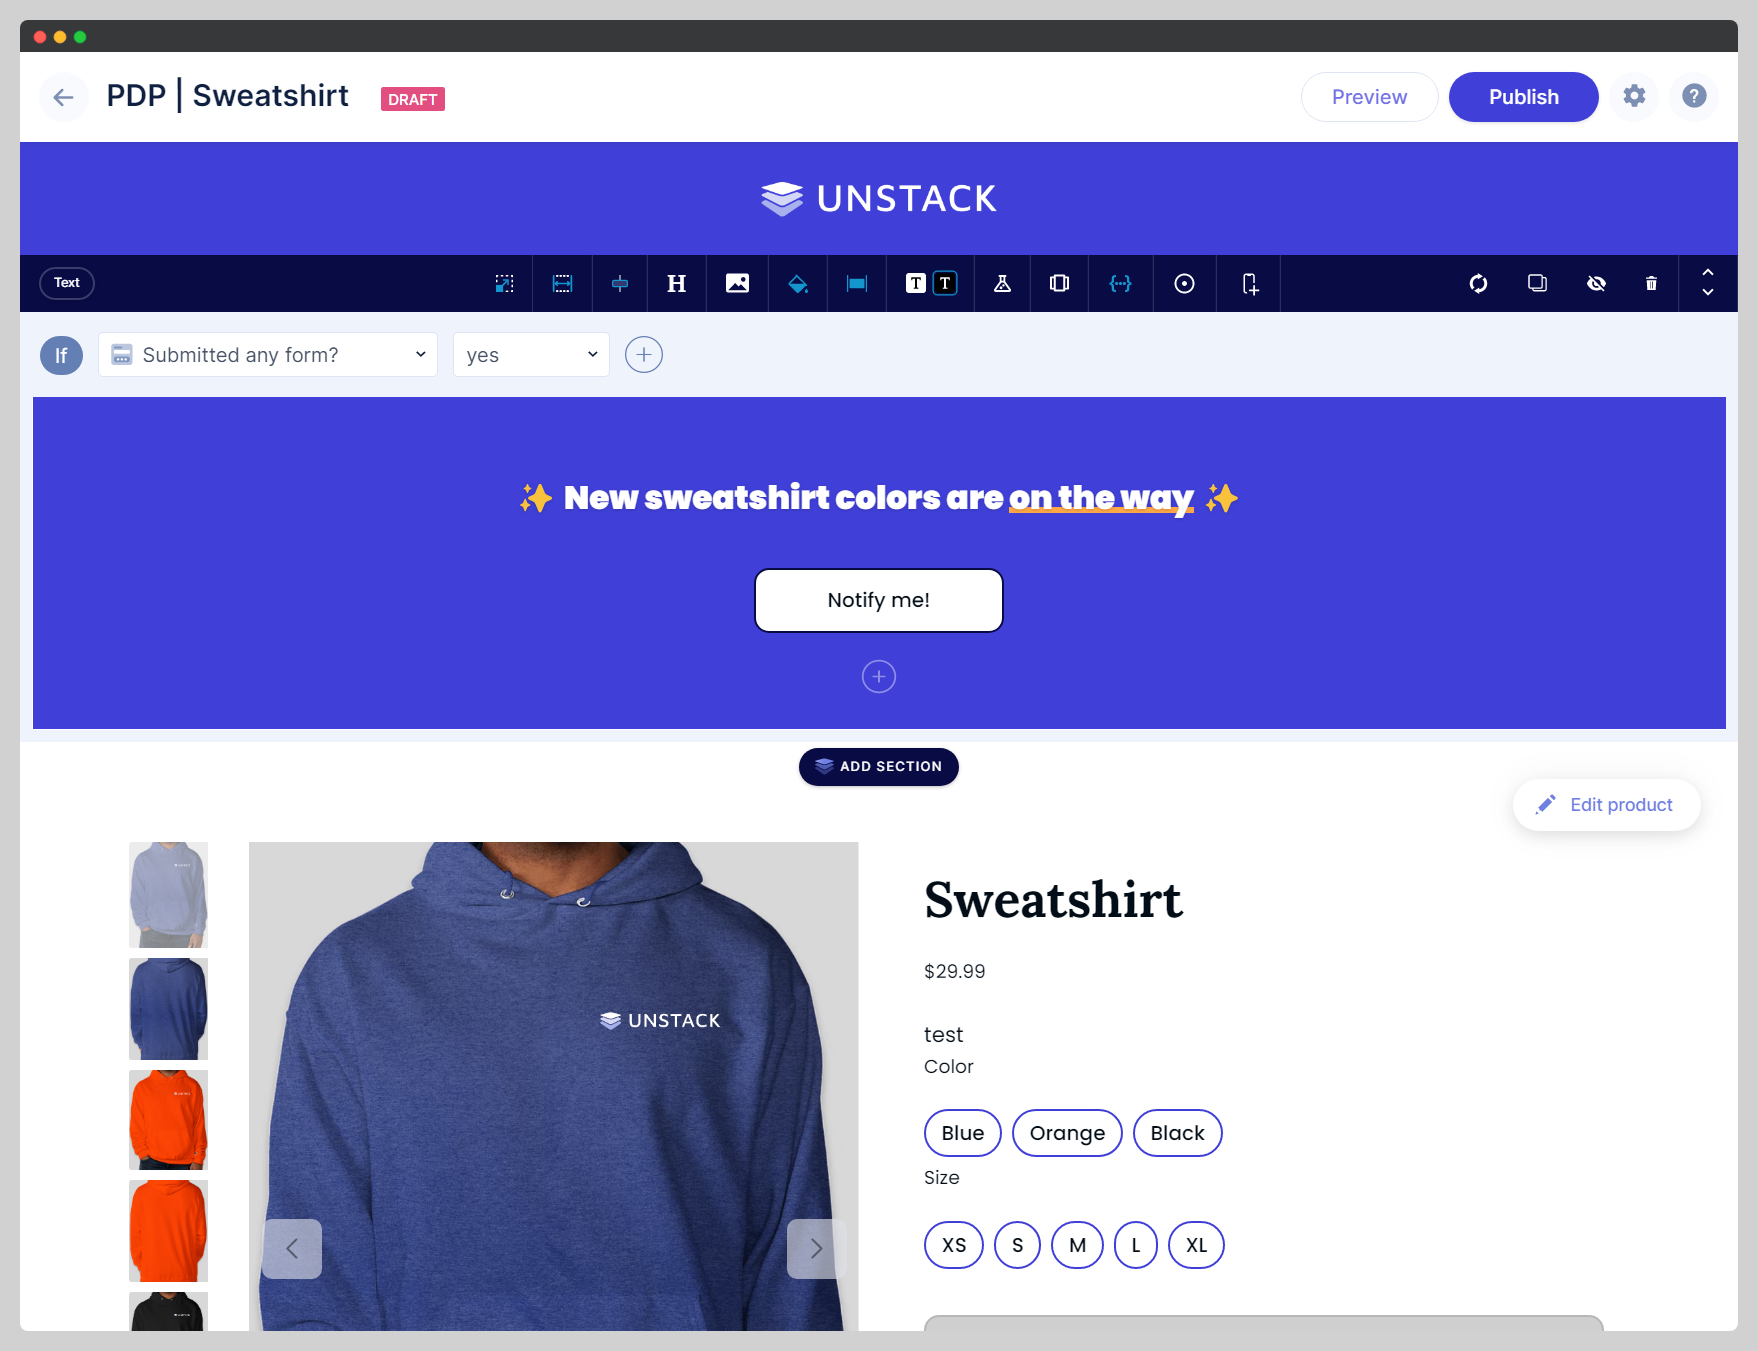
Click the "Publish" button in the top right of the editor.
-
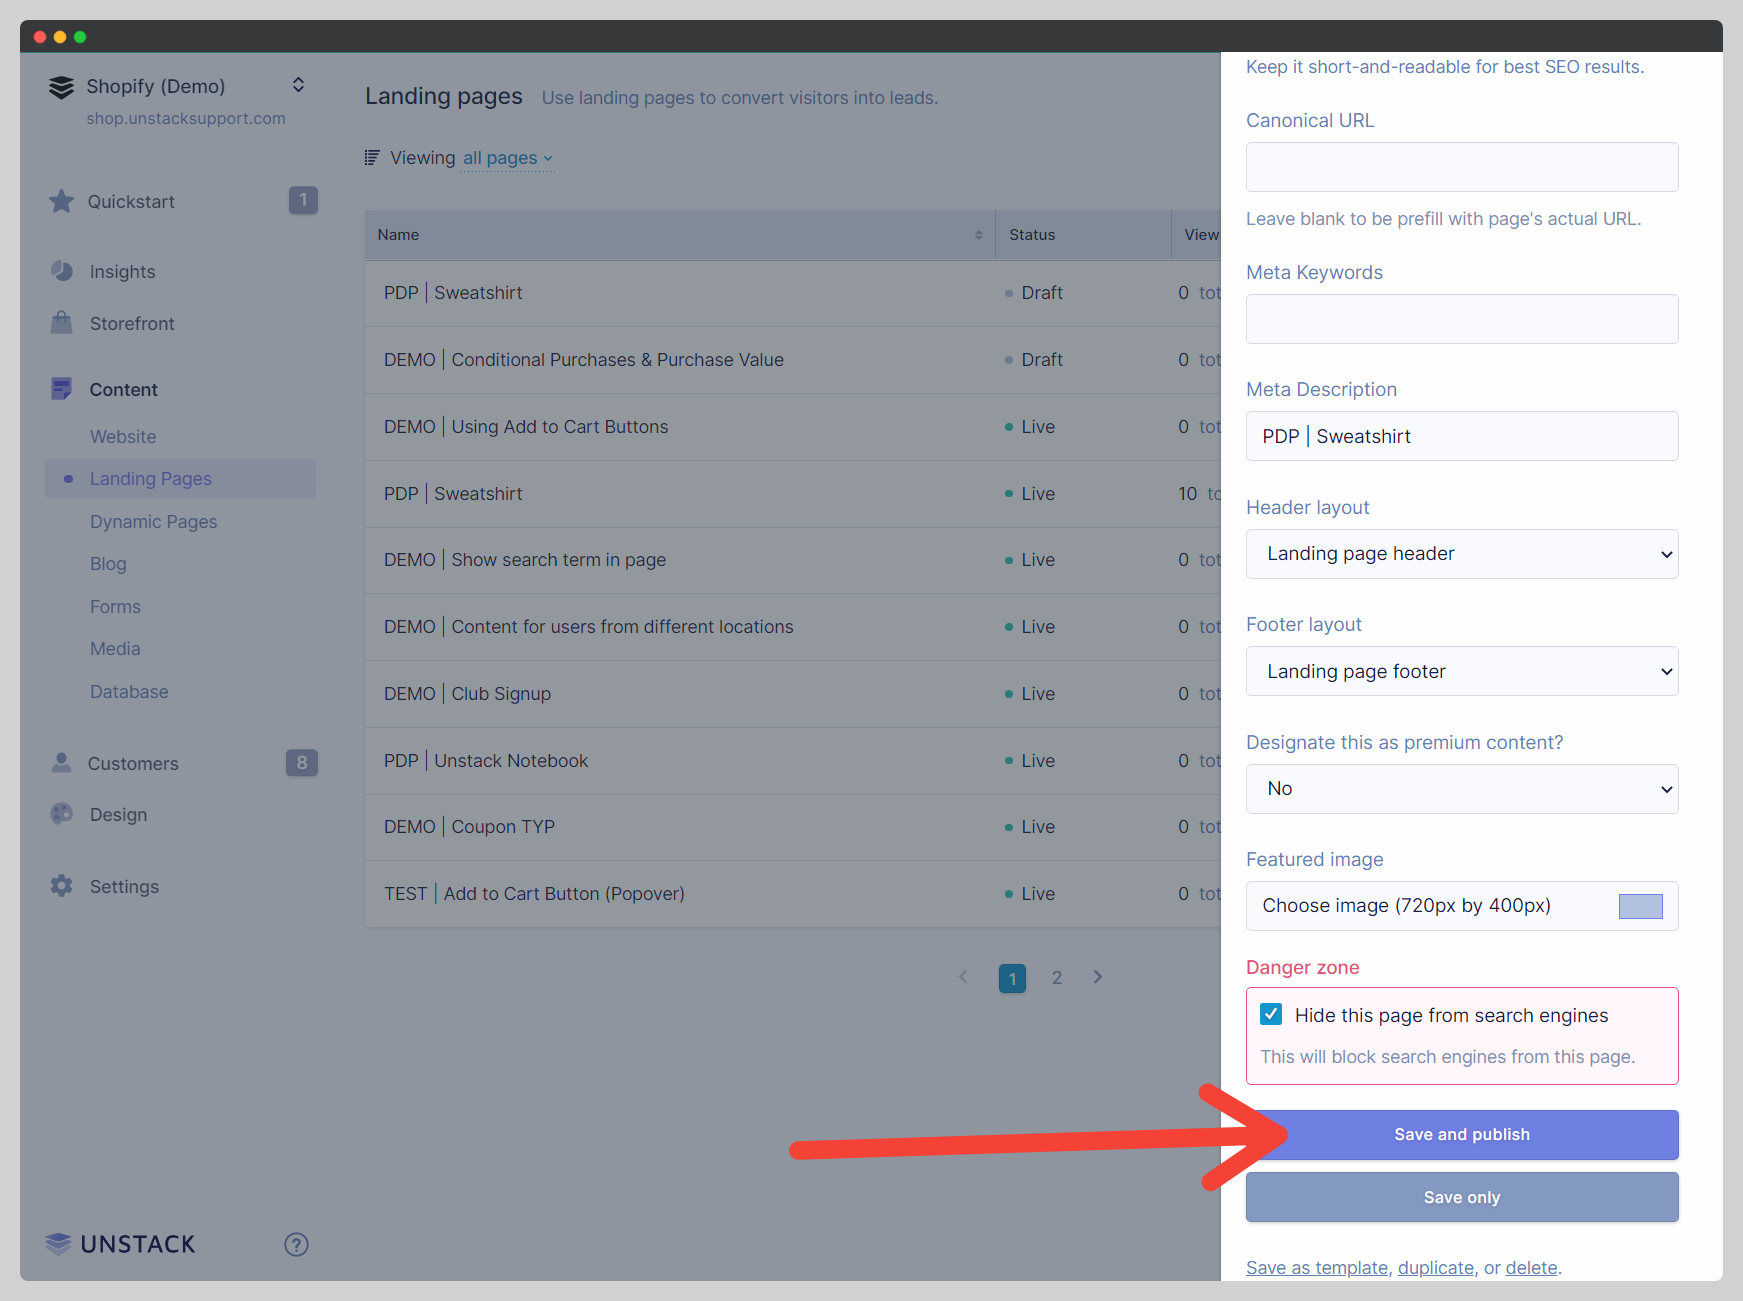
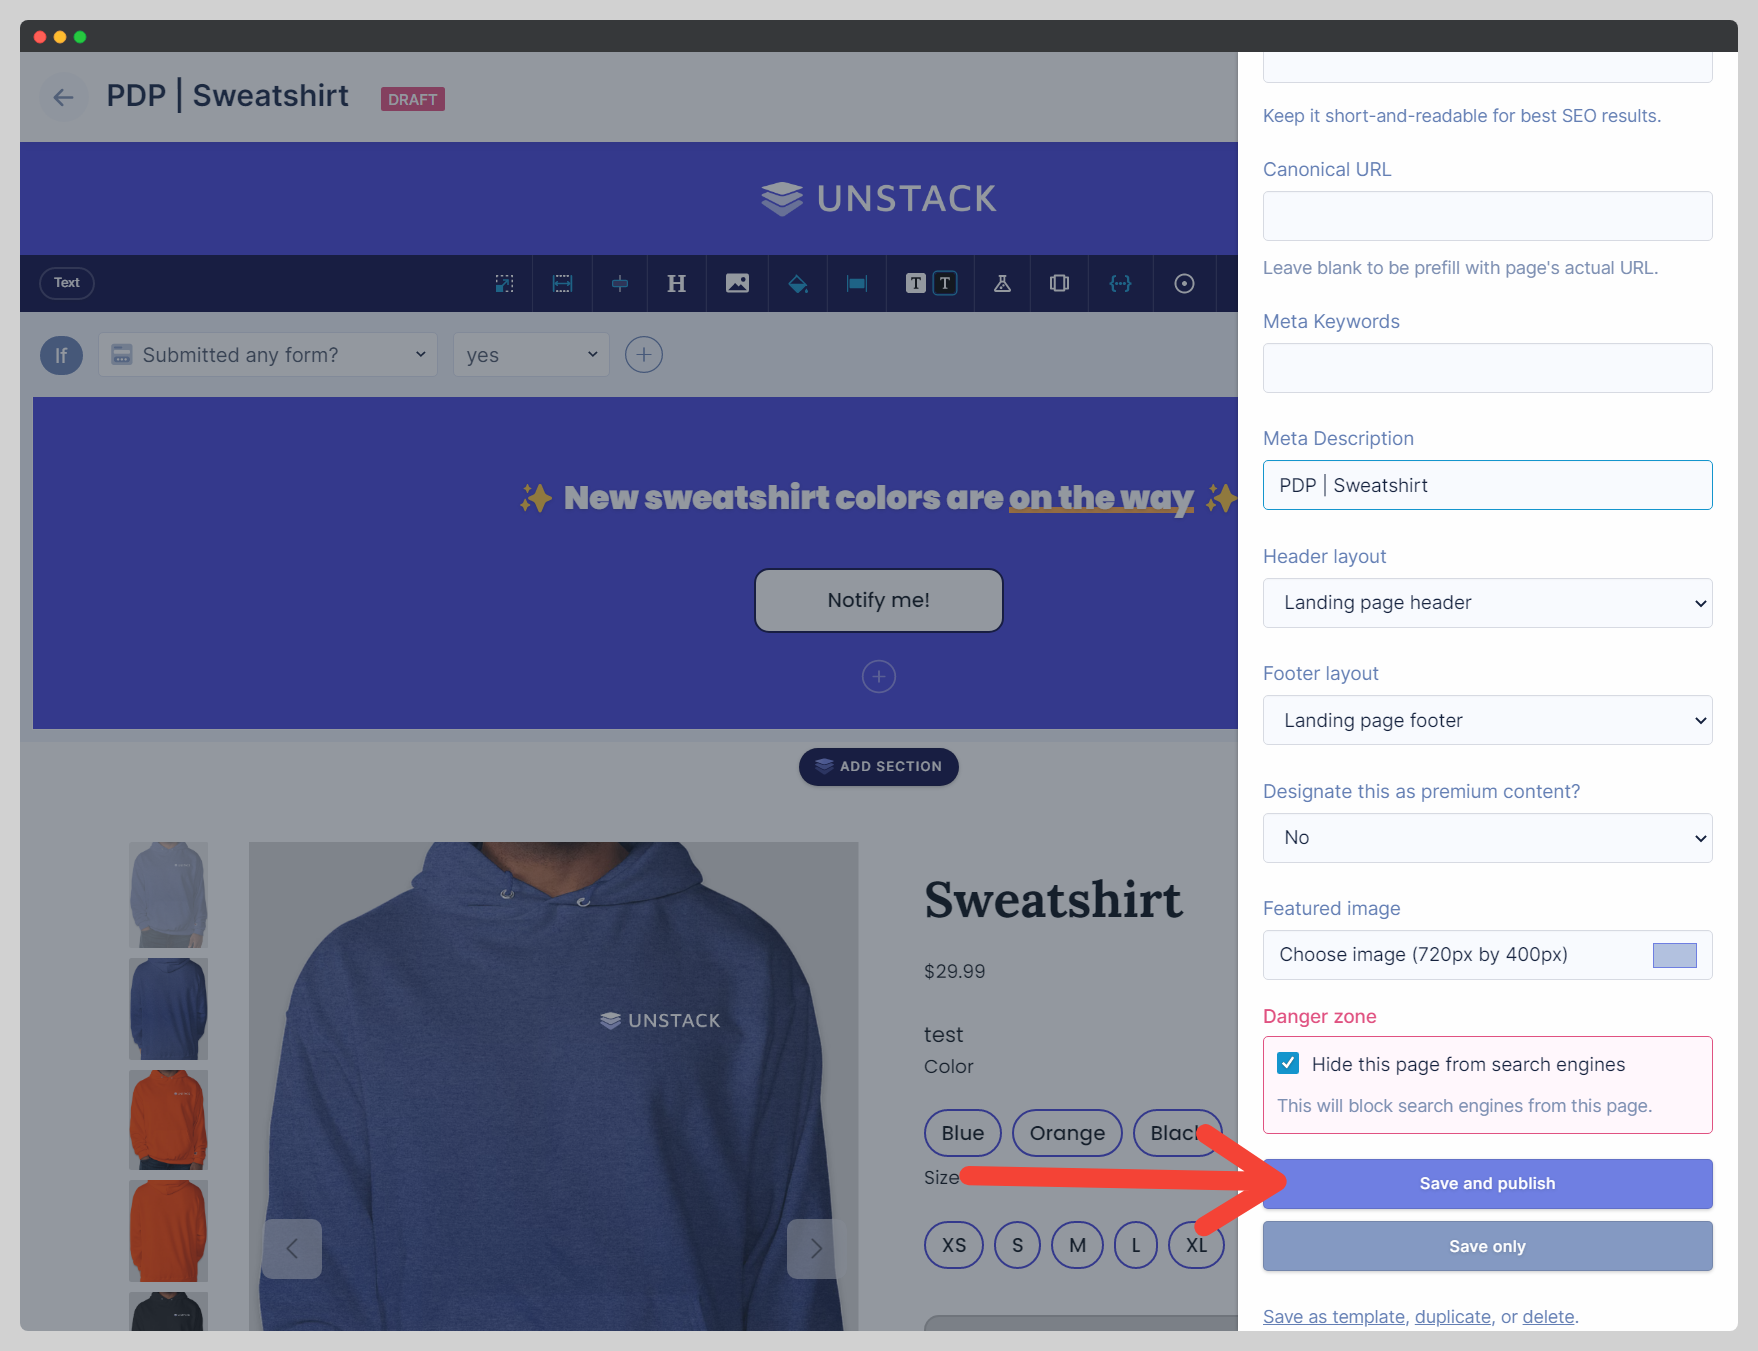
You can also click "Save and publish" at the bottom of the page settings (accessed through the editor or the page manager).
I'm unable to publish my page
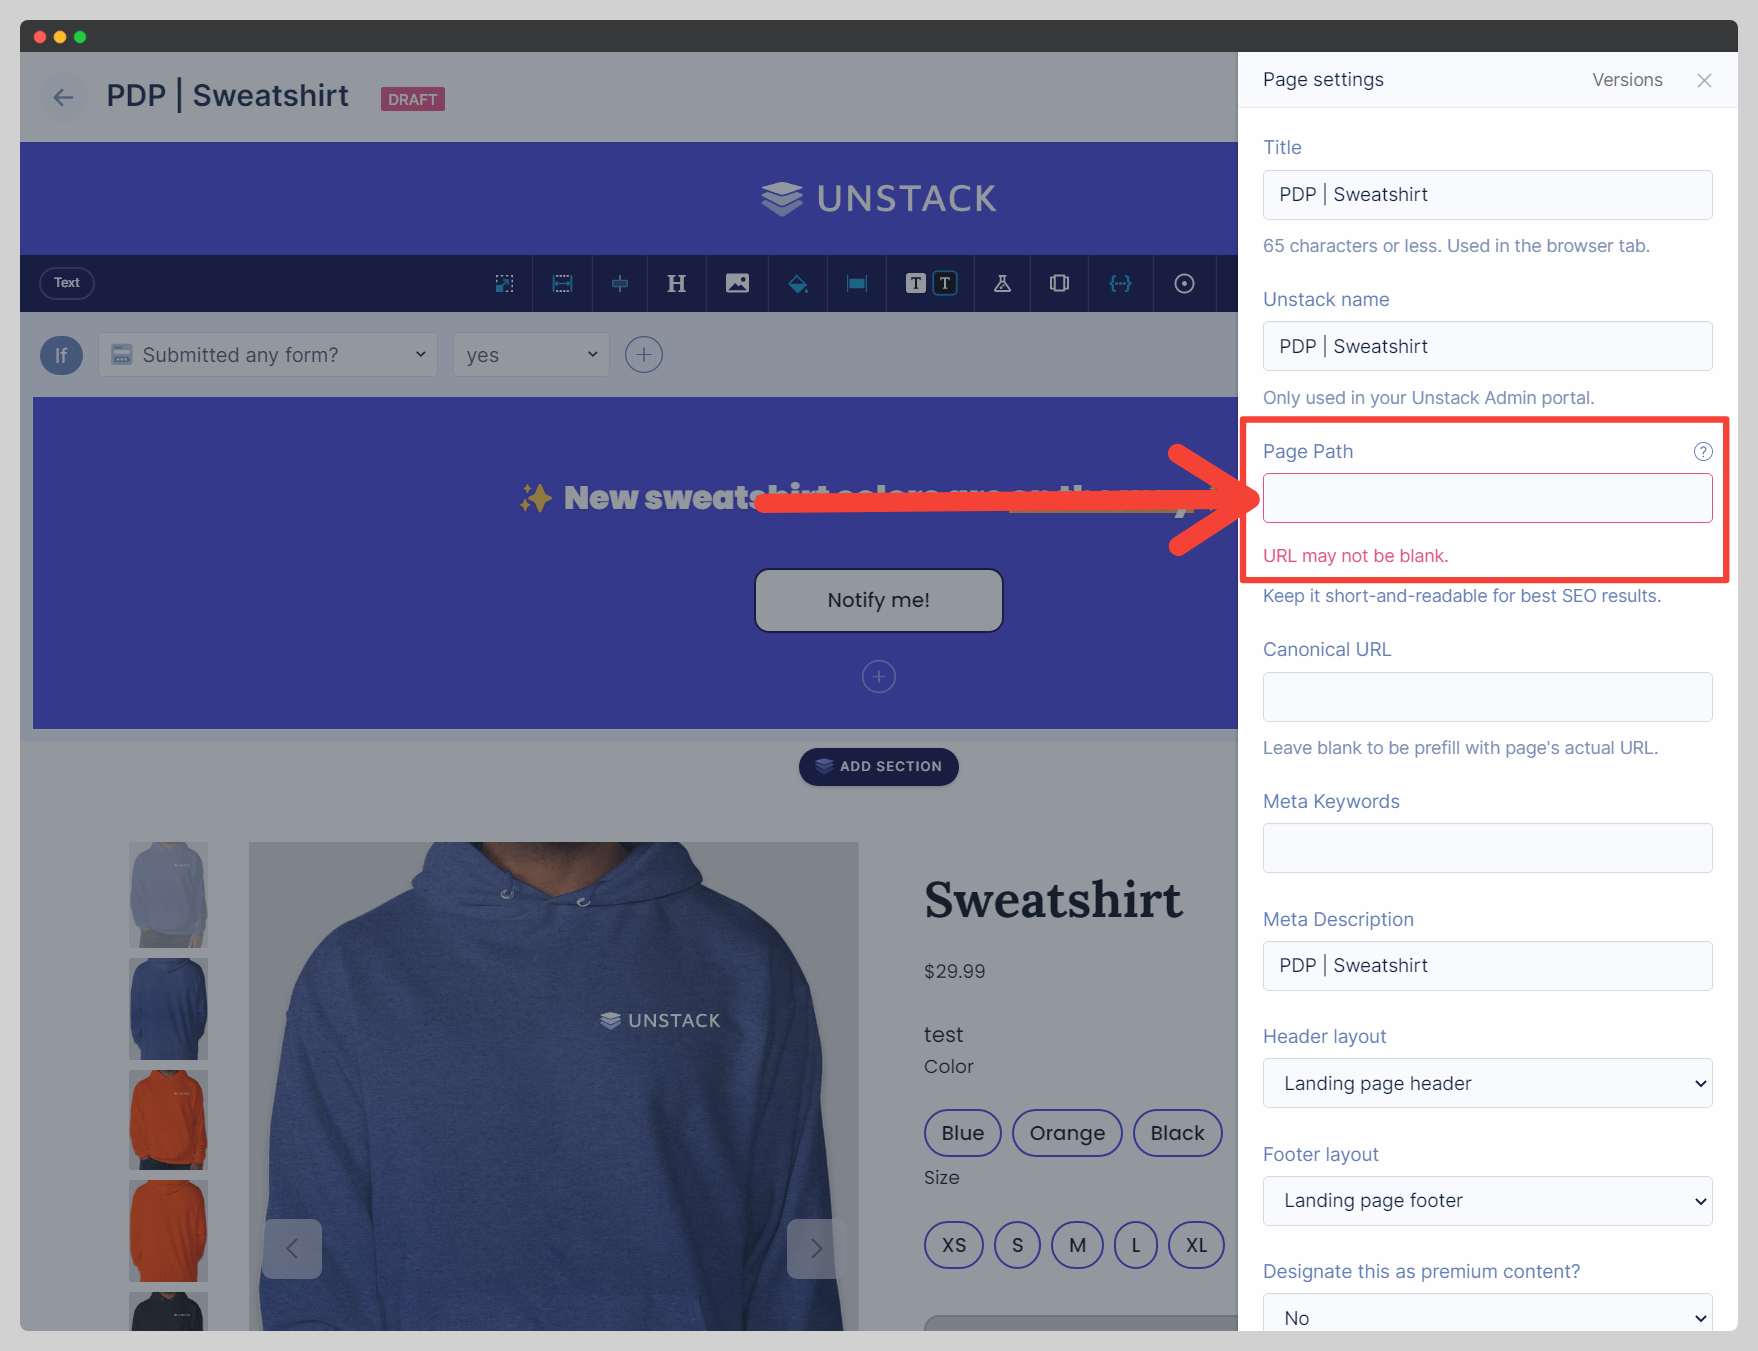
Before you can publish a page you'll need to be sure that you've filled out the required fields in the page settings. If you're missing one of these fields the app will open the page settings drawer and will highlight the missing value. There are three fields that require values before you are able to publish:
-
Title
-
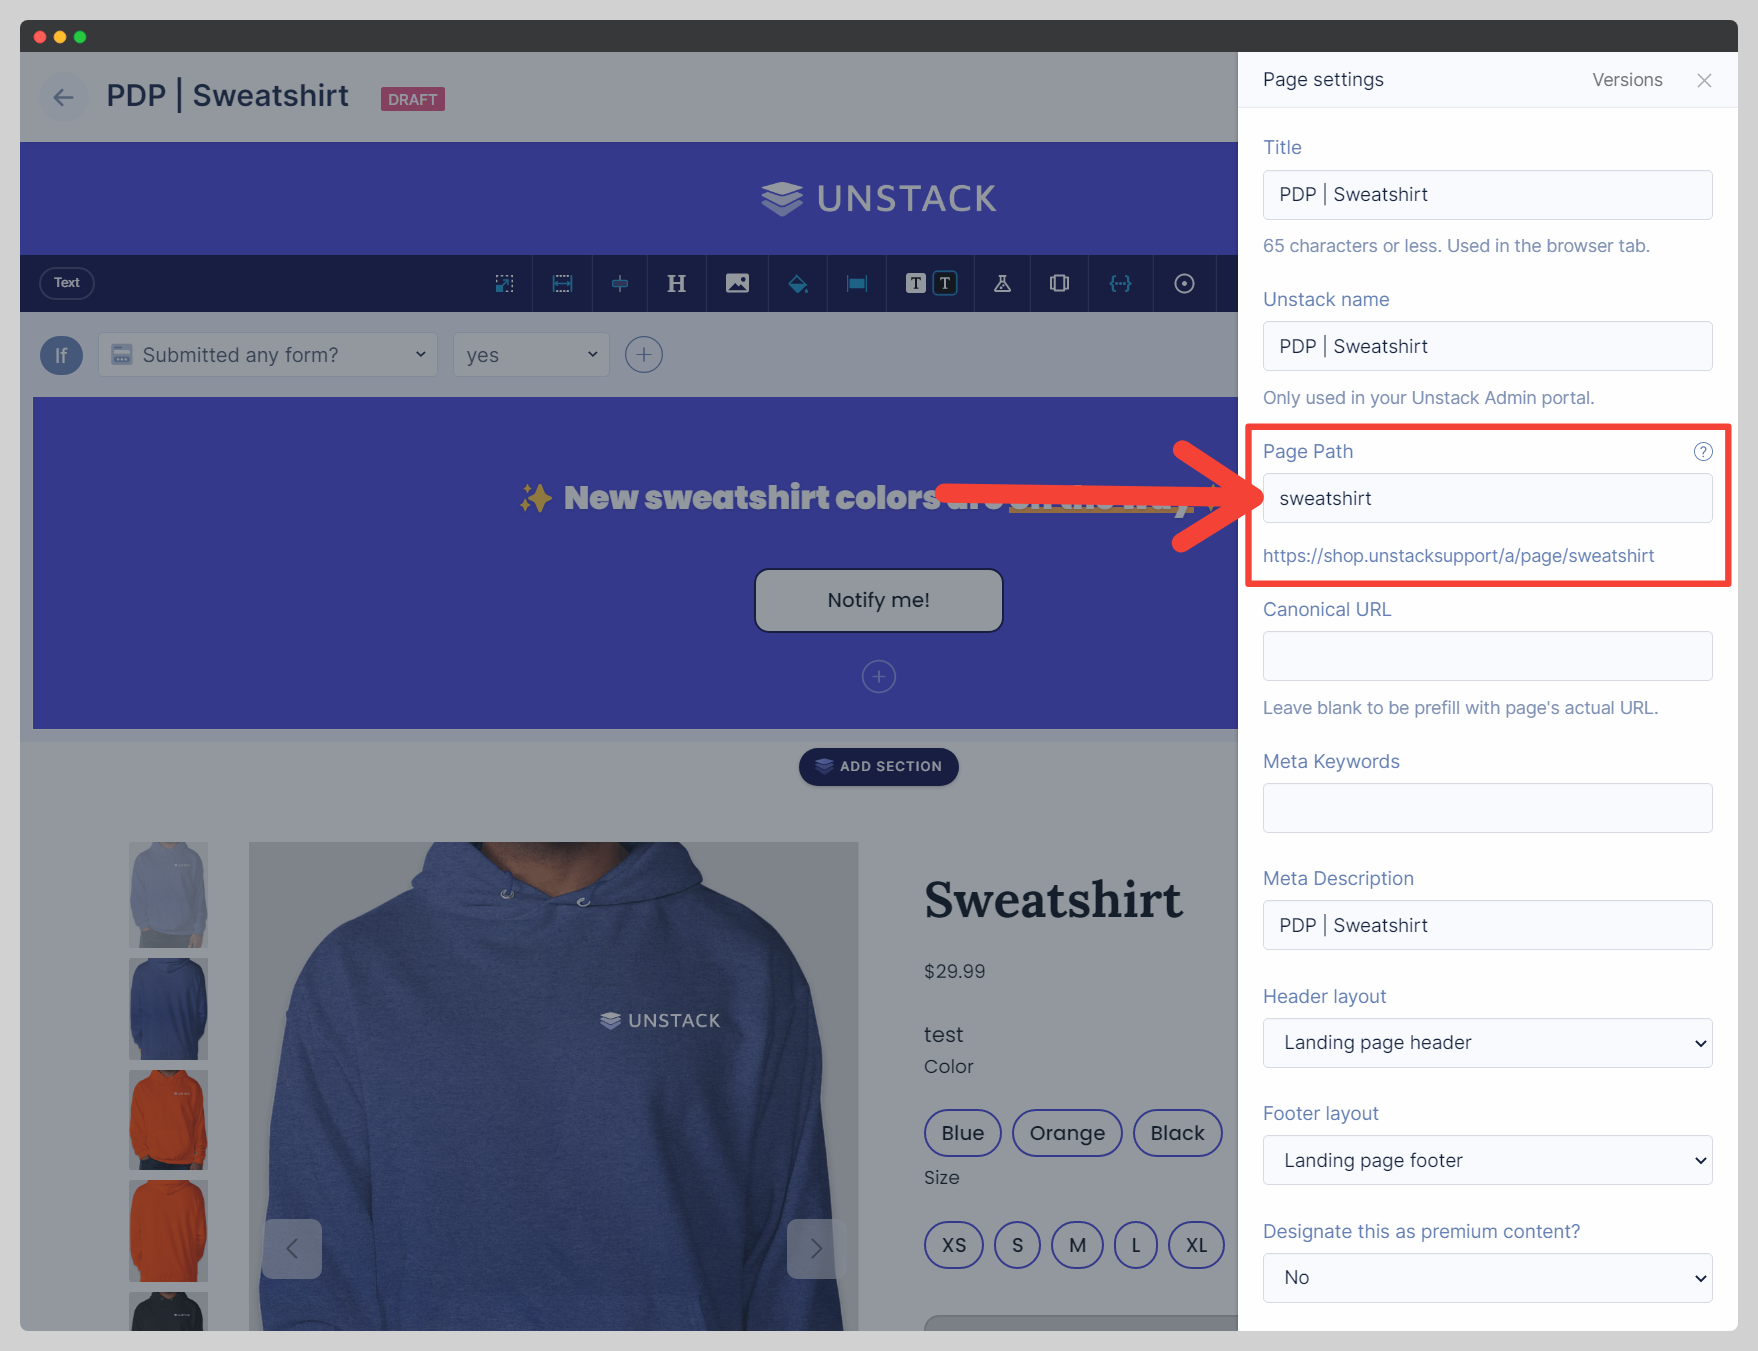
Page Path
-
Meta Description
Where do I set the URL for my page?
For all our users, the last portion of the URL - the page path - is managed in the page settings. The rest of the URL is customized elsewhere:
-
If you use Studio for Shopify, the domain used in Studio is set to the same domain used in your Shopify store. Doing so also requires that we host your pages on a "proxy" path (default is /a/page) - see Managing URLs of Shopify Landing Pages.
-
If you use Studio for Websites, the domain you use with your account needs to be manually configured. See Setting up Your Custom Domain.